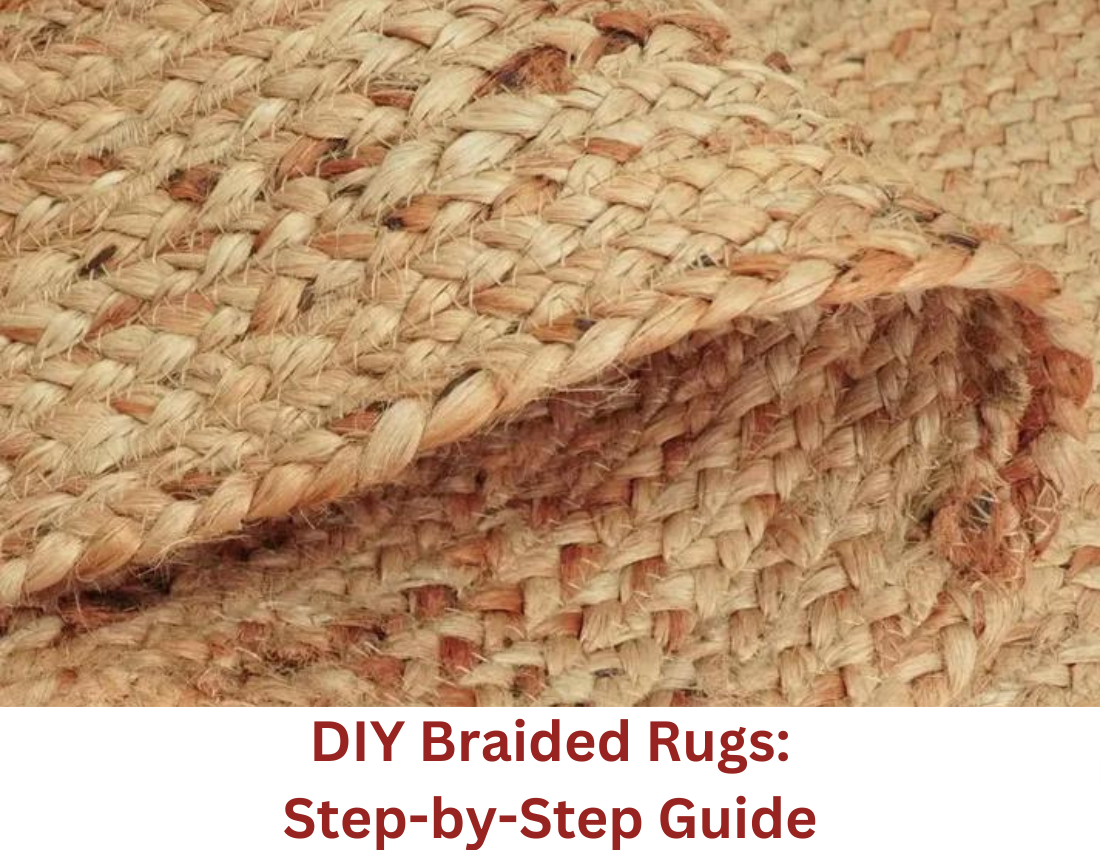
DIY Braided Rugs: Step-by-Step Guide for Beginners
Share
Creating your own braided rugs is a rewarding and crafty way to add a personal touch to your home decor. This comprehensive guide will walk you through the entire process of making beautiful, durable braided rugs from scratch. Whether you're a beginner or just looking to refine your skills, follow these detailed steps to create stunning rugs that will enhance any room.
Materials and Tools You'll Need

Before diving into the actual process, it's essential to gather all the necessary materials and tools. Here's a list to ensure you're fully prepared:
- Fabric Strips: Choose fabrics that complement your decor. Cotton, wool, or denim are excellent choices.
- Scissors or Rotary Cutter: For cutting fabric into strips.
- Sewing Machine: A sewing machine with a zigzag stitch feature works best.
- Thread: Match the thread color to your fabric.
- Rug Pad: Optional but recommended for added stability.
- Needle and Thread: For hand-stitching areas that are hard to reach with a machine.
- Fabric Glue: Optional, for extra reinforcement.
Step 1: Preparing the Fabric Strips

- Select Your Fabrics: Choose fabrics that are durable and complement each other. For a cohesive look, stick to a color palette or pattern theme.
- Cut Fabric into Strips: Measure and cut your fabric into strips, approximately 1.5 to 2 inches wide. The length of each strip can vary, but longer strips will reduce the number of seams in your finished rug.
- Press the Strips: Iron your fabric strips to remove any wrinkles. This step helps in achieving a smoother braid.
Step 2: Creating the Fabric Braids

- Start Braiding: Begin by taking three fabric strips. Align them side by side and start braiding them tightly. Ensure your braids are uniform to maintain a consistent look in your rug.
- Secure the Braids: As you braid, secure the ends with fabric glue or stitches to prevent unraveling.
- Join New Strips: When you run out of fabric strips, join a new strip by sewing or gluing the end of the new strip to the end of the existing strip.
Step 3: Shaping the Rug
- Form the Center: Begin forming the center of your rug by coiling the braided fabric into a spiral. Use fabric glue to secure the coils as you go.
- Sewing the Coils: Once the center is formed, use a sewing machine to stitch the coils together. Ensure each coil is stitched securely to prevent unraveling.
- Add More Braids: Continue adding more braids, spiraling outward from the center. Use fabric glue or stitches to attach each new braid to the previous layer.
Step 4: Finishing Touches
- Secure the Edges: Once your rug reaches the desired size, trim any excess fabric. Secure the edges with a final round of stitches or fabric glue.
- Add a Rug Pad: For added stability and to prolong the life of your rug, consider adding a rug pad underneath.
- Clean and Maintain: Regularly vacuum your rug and spot clean as needed to keep it looking fresh and new.
Tips and Tricks for a Perfect Braided Rug
- Consistent Tension: Maintain consistent tension while braiding to ensure a uniform appearance.
- Color Variation: Experiment with different fabric patterns and colors for a unique look.
- Practice: If you're new to braiding, practice with smaller swatches of fabric before starting on your main rug.
- Reinforce Weak Spots: Pay extra attention to areas where the braid meets. Reinforce these spots to prevent any unraveling.
Common Mistakes to Avoid
- Uneven Braids: Ensure your braids are even to prevent lumps in the final rug.
- Inadequate Securing: Always secure your fabric strips properly to avoid unraveling.
- Skipping the Ironing Step: Ironing fabric strips is crucial for a smooth and neat finish.
Conclusion
Creating your own braided rug can be a fulfilling and enjoyable project. With the right materials, patience, and attention to detail, you can craft a beautiful, personalized rug that will enhance your living space. Follow these steps and tips to ensure a high-quality, durable result.

